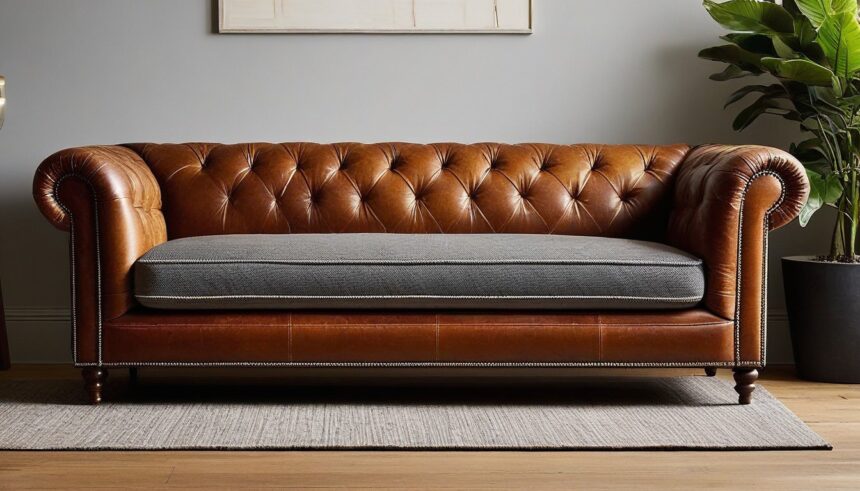
Is your trusty leather sofa looking a little worse for wear, or simply not your aesthetic anymore? Don’t despair of sending it to the curb just yet! Covering a leather sofa with fabric is a fantastic way to breathe new life into your beloved piece, adding a touch of personality and comfort to your living space. But before you dive headfirst into a fabric frenzy, let’s navigate this project with expert tips for a smooth and successful transformation.
Step 1: Prep and Assess
- Gather your tools: You’ll need fabric scissors, a staple gun, upholstery needles and thread, measuring tape, and pins. A seam ripper and fabric glue come in handy for tricky spots.
- Measure and calculate: Carefully measure your sofa’s cushions and frame, adding a few inches for tucking and seams. Remember, it’s better to have more fabric than less!
- Choose your fabric: Opt for durable, breathable fabrics like cotton or linen blends. Avoid slippery silks or velvets, as they’ll constantly need adjusting. Consider patterns and textures to add visual interest.
- Prep the sofa: Remove any cushions and clean the leather surface with a damp cloth. Patch any rips or tears for a smooth base.
Step 2: Pattern and Cut
- Make a template: Lay old fabric or paper over the cushions and frame, marking seams and darts for a snug fit. This template will be your guide for cutting the final fabric.
- Transfer the template: Pin the template onto your chosen fabric, ensuring the pattern or direction aligns as desired. Cut carefully, leaving extra fabric for tucking.
- Mark the cushions: Transfer the cushion shapes from the template onto the fabric, marking darts and seams for easy sewing.
Step 3: Sewing and Securing
- Sew the cushions: Sew the cushion covers according to your marked darts and seams. Leave the bottom open for now.
- Slip it on: Fit the sewn covers onto the cushions, tucking in any excess fabric. Pin them in place for a secure fit.
- Staple and stitch: Staple the undersides of the covers to the cushion frames. For added strength, hand-stitch the seams to the frame for a professional finish.
Step 4: Tackling the Frame
- Work in sections: Start with smaller sections like armrests, pinning and stapling the fabric to the frame, tucking in excess neatly.
- Smooth and secure: Use upholstery needles and thread to stitch down any loose edges, creating a smooth and secure finish.
- Back it up: For a polished look, cut and attach a backing fabric to the underside of the frame, hiding any staples and creating a clean finish.
Expert Tips for a Flawless Transformation:
- Pre-wash your fabric: This prevents shrinkage and ensures a perfect fit later.
- Iron the fabric before cutting: This removes wrinkles and makes it easier to work with.
- Use upholstery staples: They’re stronger and less likely to pull out than regular staples.
- Don’t be afraid to ask for help: If you’re a sewing newbie, enlist a friend or family member with some experience.
- Take your time and enjoy the process: Reupholstering is a creative project, so savor the transformation and be proud of your handiwork!
With these expert tips and a little patience, you can easily transform your leather sofa into a stunning fabric masterpiece. So grab your tools, unleash your creativity, and give your old sofa a new lease on life! Remember, the possibilities are endless, and the satisfaction of a successful DIY project is priceless.
Bonus Tip: Consider using leftover fabric scraps for throw pillows or decorative accents to tie your entire living space together.
Now go forth and conquer the world of fabric-covered sofas! And if you have any questions or creative ideas, feel free to share them in the comments below.


