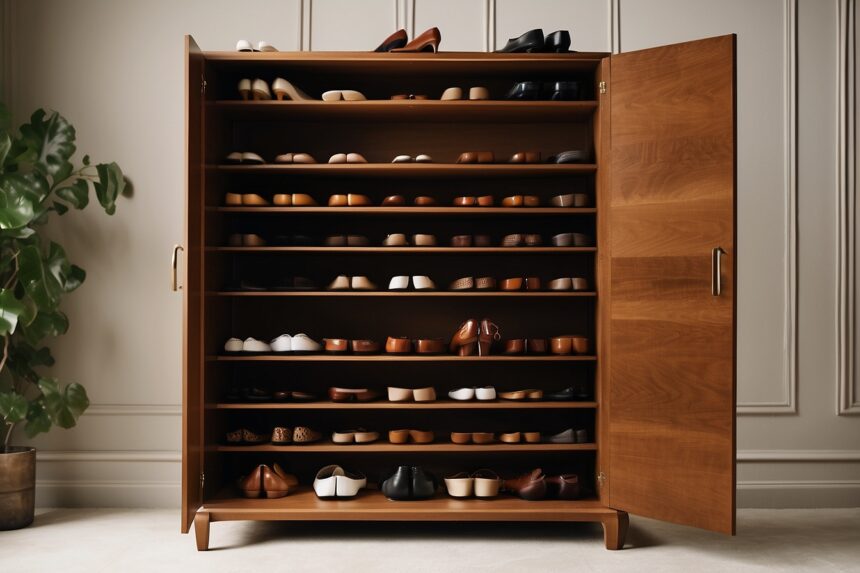
Are your shoes scattered all over your entryway or closet? Do you find it challenging to locate a matching pair when you’re in a hurry? If you answered “yes” to these questions, it might be time to consider building your shoe cabinet. In this comprehensive guide, we’ll walk you through the process of creating a customized shoe storage solution that perfectly suits your needs and space. From understanding what a shoe cabinet is to step-by-step instructions on building one, we’ll cover it all. By the end of this article, you’ll be equipped with the knowledge and inspiration to craft your very own shoe cabinet.
What is a Shoe Cabinet?
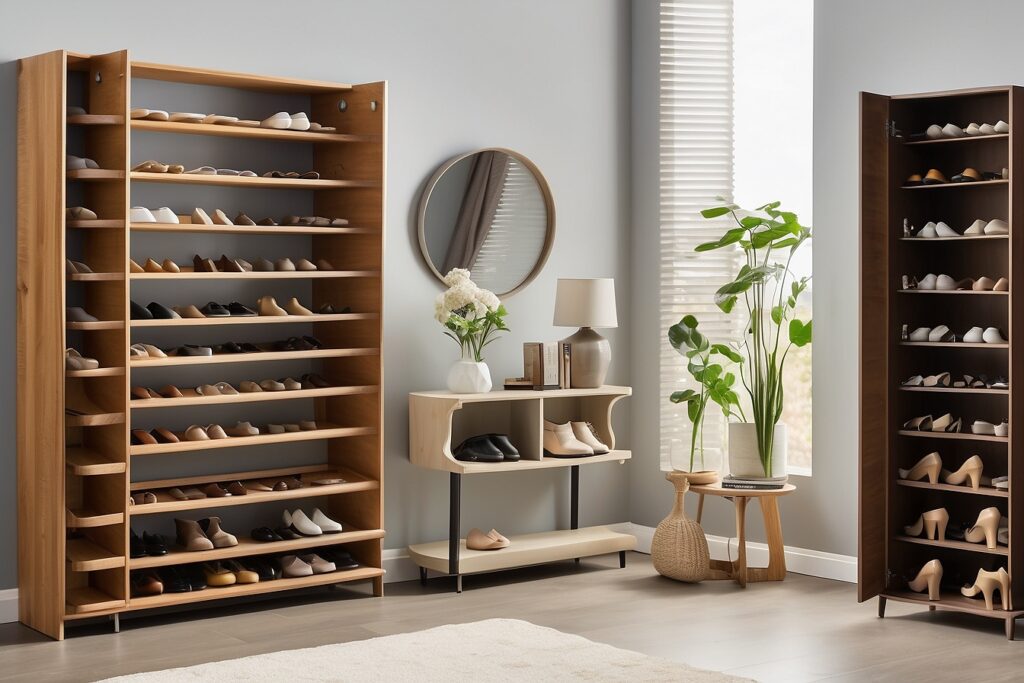
A shoe cabinet is a piece of furniture designed specifically for storing and organizing shoes. It typically features shelves, compartments, and sometimes doors. These cabinets offer an efficient way to keep your footwear collection neat and easily accessible. Instead of rummaging through piles of shoes or tripping over them, a shoe cabinet can bring order to the chaos and add a touch of organization to your home.
Why Build Your Own Shoe Cabinet?
The first question that might cross your mind is, “Why build a shoe cabinet when I can buy one?” There are several compelling reasons to consider a DIY approach:
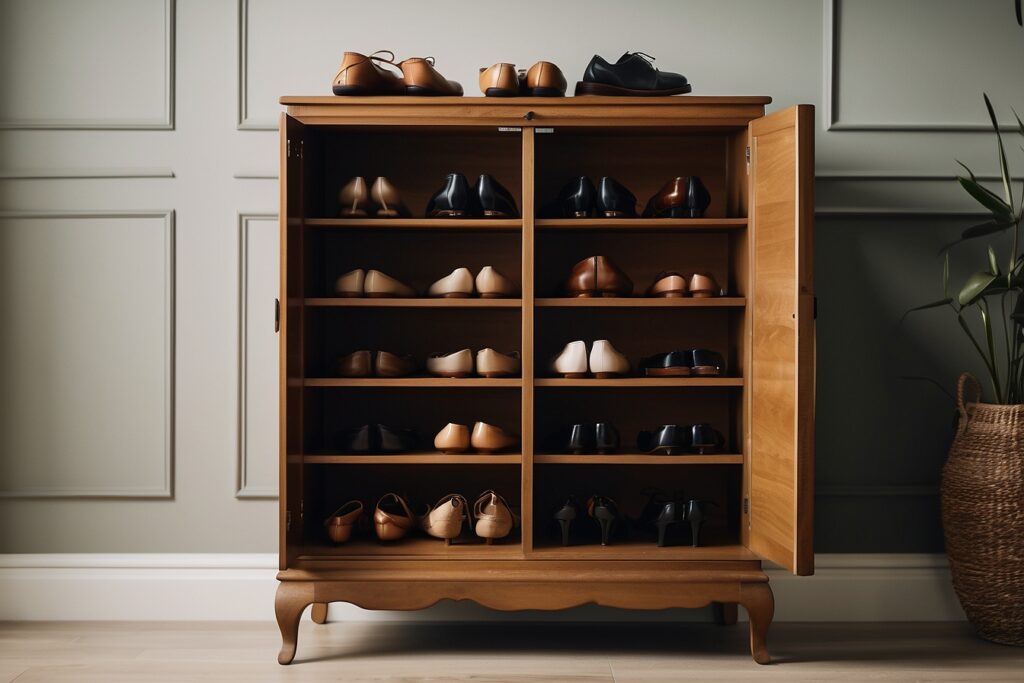
1. Customization: Building your shoe cabinet allows you to tailor it to your specific needs, including size, design, and functionality. You have the freedom to create a piece that perfectly complements your home’s style.
2. Cost-Efficiency: Depending on the materials you choose, building a shoe cabinet can be a budget-friendly option compared to purchasing a pre-made one from a store.
3. Personal Satisfaction: The sense of accomplishment that comes with crafting a piece of furniture with your own two hands is immeasurable. It’s a project that can be both rewarding and enjoyable.
4. Space Optimization: DIY shoe cabinets can be designed to fit into unique or awkward spaces, maximizing your storage potential.
Benefits of Having a Shoe Cabinet:
Before diving into the nitty-gritty of building your shoe cabinet, let’s explore the benefits of having one:
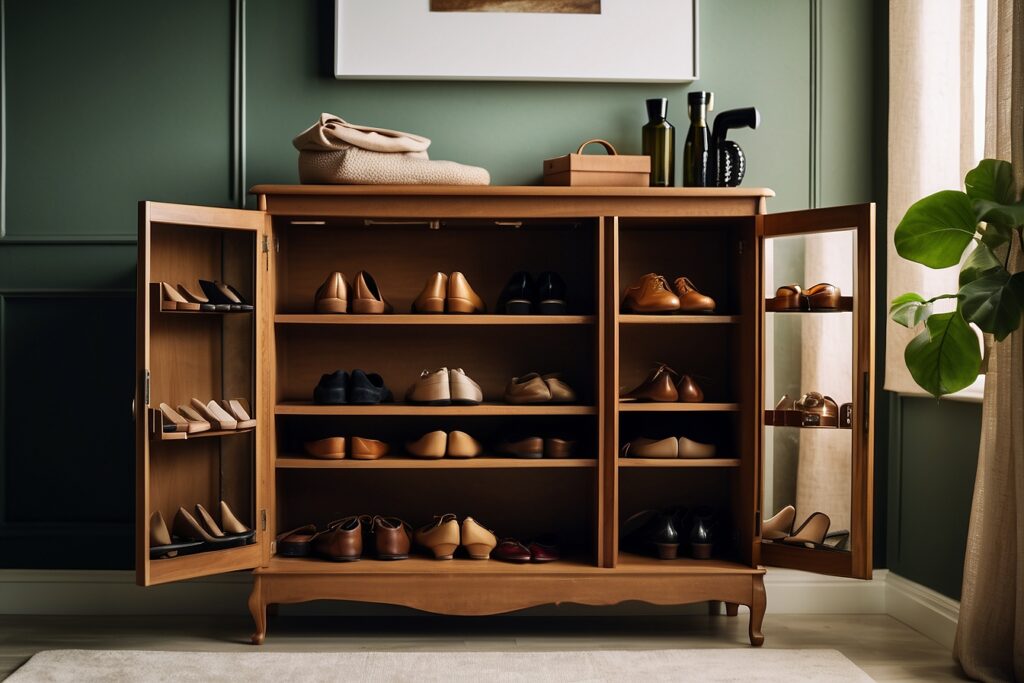
1. Organization: A shoe cabinet helps keep your shoes in one place, making it easier to find the pair you want.
2. Space Saving: Shoe cabinets are designed to make the most of your space, ensuring your shoes don’t clutter your living areas.
3. Shoe Care: By storing your shoes in a cabinet, you protect them from dust and damage, extending their lifespan.
4. Aesthetics: Shoe cabinets can enhance the appearance of your home. They can be stylish, functional pieces of furniture that add to your decor.
Now, let’s delve into the practical aspects of building your shoe cabinet.
Types of Shoe Cabinets:
Shoe cabinets come in various styles, and choosing the right one depends on your personal preferences and available space. Here are some common types:
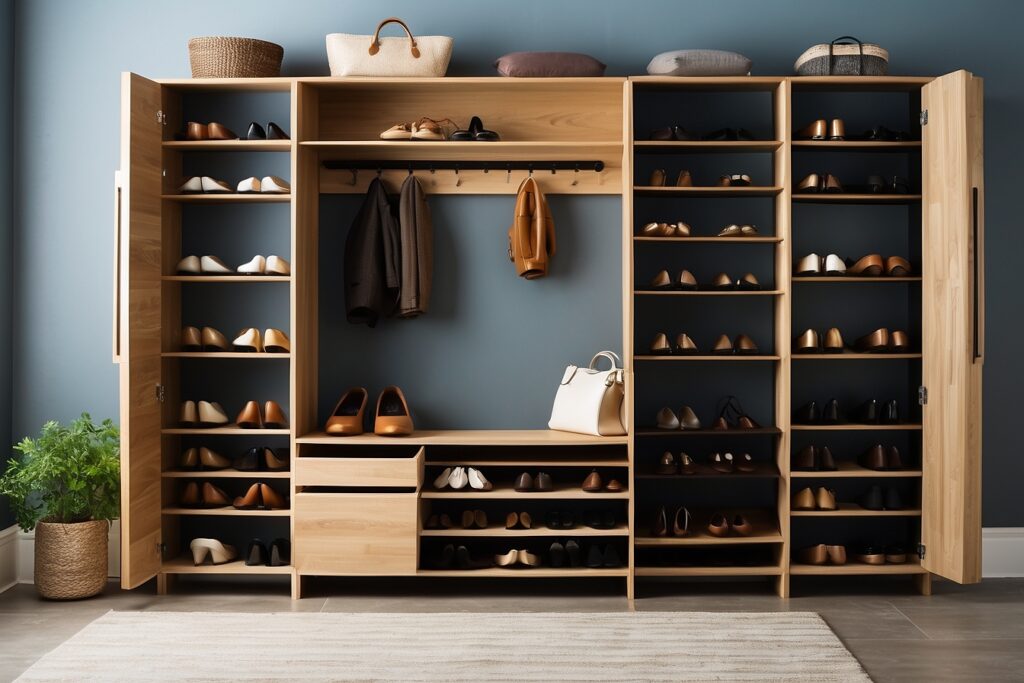
1. Open Shelving: These cabinets have open shelves, making it easy to see and access your shoes. They are ideal if you want your shoe collection on display.
2. Closed Cabinets: These cabinets have doors that can hide your shoes from sight, creating a neater and more organized look.
3. Shoe Benches: These multifunctional pieces combine shoe storage with seating, making them perfect for entryways.
4. Rotating Shoe Cabinets: If you have limited space, a rotating cabinet can save room while providing ample storage.
Choosing the Right Shoe Cabinet for Your Needs:
When selecting the type of shoe cabinet you want to build, consider the following factors:
1. Available Space: Measure the area where the cabinet will be placed to ensure it fits comfortably.
2. Shoe Collection: Assess your shoe collection and decide how many pairs you need to accommodate. This will determine the size and number of shelves or compartments required.
3. Style and Design: Choose a design that complements your home’s decor. You can opt for a modern, rustic, or minimalist look, depending on your taste.
4. Functionality: Consider additional features like mirrors, drawers, or a shoe rack if they would enhance the cabinet’s functionality.
With these considerations in mind, you can move on to the next steps in the DIY process.
1. Materials and Tools Needed to Build a Shoe Cabinet:
To embark on your DIY shoe cabinet project, you’ll need the following materials and tools:
Materials:
- Wood (e.g., pine, oak, or maple)
- Pocket hole screws
- Hinges (if adding doors)
- Door knobs or pulls (if adding doors)
- Wood filler
- Finish (stain, paint, or polyurethane)
Tools:
- Miter saw
- Drill with pocket hole jig
- Sandpaper or electric sander
- Level
- Tape measure
- Screwdriver
- Equipment for safety (goggles, gloves, and a dust mask)
Now, let’s start crafting your shoe cabinet.
2. Step-by-Step Instructions: How to Build a Shoe Cabinet
1. Design Your Shoe Cabinet:
Before you start cutting and assembling, take the time to design your shoe cabinet. Consider the following:
– Decide on the size and shape of your shoe cabinet: Measure the available space and determine the dimensions of your cabinet.
– Choose the number of shelves and compartments you need: Based on the number of shoes you have, decide how many shelves or compartments your cabinet should have.
– Decide if you want to add doors or not: Determine whether you want an open shelving design or if you’d prefer doors to keep your shoes hidden.
2. Cut the Wood to Size:
The quality of your cuts will significantly impact the overall appearance and structural integrity of your shoe cabinet. Here’s how to do it right:
- Measurement and Marking: Begin by carefully measuring and marking the wood pieces according to your design and specifications. Use a tape measure, a square, and a pencil to ensure accurate measurements and straight lines. To avoid mistakes, double-check your dimensions.
- Choosing the Right Saw: A miter saw is an ideal tool for making precise and clean cuts in your wood pieces. It provides the advantage of precise angles and straight cuts. Ensure that your miter saw is set up correctly, and the blade is sharp for clean cuts.
- Cutting the Pieces: When making your cuts, remember to follow your marks precisely. It’s better to cut slightly larger than needed initially and then fine-tune the fit if necessary. Take your time to make smooth and controlled cuts, maintaining your safety throughout the process. Use safety equipment such as goggles and a dust mask.
- Grouping and Labeling: As you make your cuts, group the pieces together based on their function in the cabinet. For example, group all the pieces for the cabinet frame, shelves, and compartments separately. Label them if necessary to avoid any confusion during assembly.
- Consider Waste: Minimize waste by planning your cuts efficiently. If you have any offcuts or scrap pieces that are still usable, keep them for potential repairs or future projects.
- Test Fitting: Before moving on to the assembly stage, do a test fit of the cut pieces to ensure they all align correctly. This step is crucial to catch any inaccuracies in your cuts early and make necessary adjustments.
The accuracy and precision of your cuts are essential for a successful shoe cabinet project. It ensures that all components fit together seamlessly, resulting in a professional and polished final product. By taking your time and following these steps meticulously, you’ll be well on your way to creating a shoe cabinet that not only meets your storage needs but also lends a sense of quality to your living area.
3. Sand the Edges of the Wood:
To create a smooth and polished finish, sand the edges of the wood pieces. This will also help prevent splinters and rough spots.
4. Assemble the Frame of the Shoe Cabinet:
This step involves joining the individual pieces of wood to create the primary framework of your shoe cabinet. Here’s how to go about it:
- Planning the Assembly: Before you start, organize all your frame components and lay them out according to your design. Double-check that you have all the necessary pieces, and refer to your design and measurements to ensure correct placement.
- Joining the Sides: Begin by joining the sides of the cabinet to the top and bottom pieces. Use pocket-hole screws and a pocket-hole jig to create secure connections. These screws are designed to be hidden within the wood, giving your cabinet a clean and polished appearance.
- Square and Level: It’s essential to ensure that the frame is both square and level. Use a carpenter’s square to check the angles and a level to verify that the frame is flat and even. This precision is critical for the overall stability and aesthetics of your shoe cabinet.
- Fastening the Pieces: Drill pilot holes first to prevent the wood from splitting when the screws are driven in. Then, attach the screws carefully, ensuring that each connection is tight and secure. It’s recommended to use clamps to hold pieces in place during the assembly process, which helps maintain alignment and prevent any shifting.
- Inspect for Gaps: After the frame is assembled, inspect all the joints for gaps or misalignments. If you find any issues, now is the time to make necessary adjustments.
- Reinforcement (Optional): Depending on the size of your cabinet and the weight it will bear, you may consider adding additional reinforcement to the frame. This could involve adding cross braces, corner brackets, or other support elements to enhance the cabinet’s stability.
The frame is the core structural component of your shoe cabinet, and its proper assembly is crucial for the cabinet’s long-term durability. It’s essential to take your time during this step to ensure that all connections are secure and that the frame is perfectly square and level. A well-constructed frame sets the foundation for the remaining elements of your shoe cabinet and ensures a professional, polished result. Once the frame is assembled, you’ll be ready to move on to attaching the shelves, compartments, and doors to create a fully functional storage unit.
5. Attach the Shelves and Compartments:
Again, use pocket hole screws to attach the shelves and compartments to the frame of the shoe cabinet. Make sure the shelves and compartments are level and evenly spaced for a neat appearance.
6. Add Doors (Optional):
If you’ve opted for doors, attach them now using hinges and door knobs or pulls. Make certain that the doors open and close smoothly.
7. Finish the Shoe Cabinet:
- Sand the entire shoe cabinet to smooth out any rough edges.
- Apply a finish to the shoe cabinet, such as stain, paint, or polyurethane. This step not only protects the wood but also enhances its appearance.
8. Enjoy Your New Shoe Cabinet:
With the finishing touches in place, you can now enjoy your newly built shoe cabinet. It’s a testament to your craftsmanship and will keep your shoes organized and easily accessible.
Tips and Tricks
- Use a level to make sure the shoe cabinet is level and square throughout the construction process.
- Predrill pilot holes before attaching any screws to prevent the wood from splitting.
- Use a wood filler to fill any holes or cracks in the wood for a seamless finish.
- Sand the shoe cabinet between coats of finish to achieve a smooth, professional look
.
Variations
Your shoe cabinet can be as unique as you are. Here are some ideas for customizing your shoe cabinet:
- You can build your shoe cabinet out of any type of wood, but some popular choices include pine, oak, and maple.
- Add additional features, such as a shoe rack, a drawer for storing shoe cleaning supplies, or a mirror on the inside of the door.
- Customize the shoe cabinet to fit your specific needs and decor. You can paint it to match your existing furniture or add decorative accents.
Conclusion
In conclusion, building your shoe cabinet is a rewarding and practical DIY project that can transform your living space. It allows you to create a customized storage solution that perfectly suits your needs, whether you have a modest shoe collection or an extensive one. By following the step-by-step instructions and considering the tips and variations we’ve discussed, you can craft a shoe cabinet that’s not only functional but also a stylish addition to your home.
With the freedom to choose the materials, design, and finishes, your shoe cabinet will reflect your unique personality and taste. Say goodbye to shoe clutter, and say hello to an organized and aesthetically pleasing entryway or closet. Building a shoe cabinet is an investment in your home’s tidiness, your shoe care, and your sense of accomplishment. So, are you ready to take on the challenge of building your own shoe cabinet? The answer is a resounding “Yes!” Start your DIY journey today, and enjoy the benefits of your handcrafted shoe storage solution.


