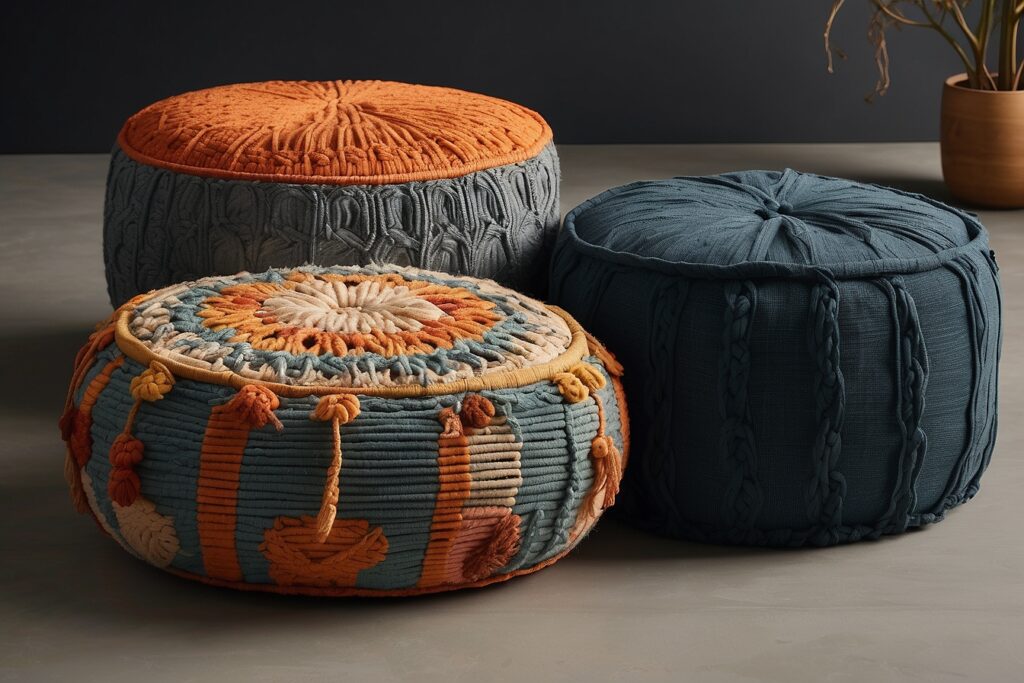
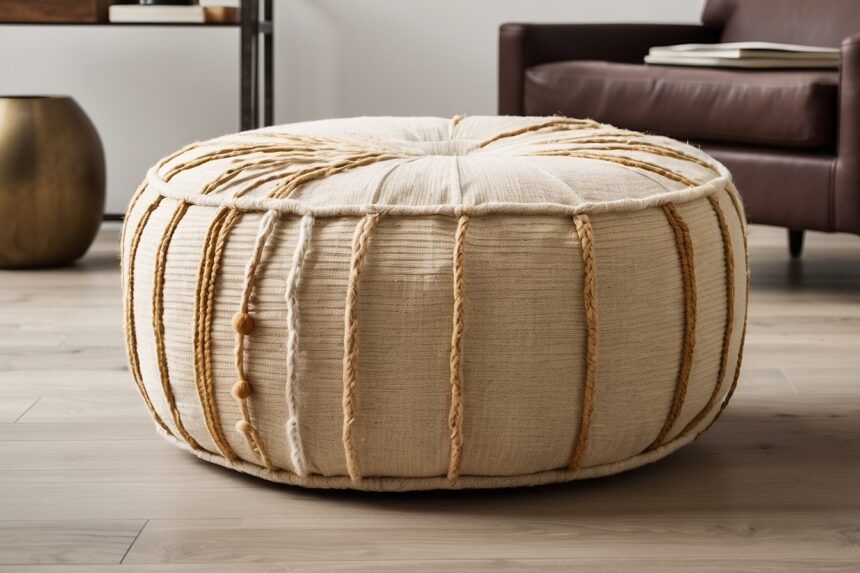
Poufs are versatile pieces of furniture that can add both style and functionality to your home. They can serve as footrests, extra seating, or even coffee tables, making them a popular choice for interior decor. However, to keep your pouf looking fresh and well-maintained, it’s essential to have a cover that not only protects it but also complements your interior design. In this step-by-step guide, we will show you how to make a round pouf cover, customized to your style and preferences. Whether you’re a seasoned DIY enthusiast or a complete beginner, you’ll find this project both enjoyable and rewarding.
Getting Started
Before we dive into the actual process of making a round pouf cover, let’s gather the materials and tools you’ll need for this project.

Materials:
- Fabric of your choice
- Thread
- Zipper
- Measuring tape
- Scissors
- Pins
- Sewing machine (or a needle if you prefer hand-sewing)
- Round pouf (to measure and fit the cover)
Step 1: Choose Your Fabric
The first step in creating a round pouf cover is selecting the fabric. The choice of fabric is vital, as it will not only determine the appearance of the cover but also its durability. You can opt for a variety of materials such as cotton, linen, canvas, or even upholstery fabric, depending on your style and usage. Make sure to select a fabric that complements your room’s decor and is easy to work with.
Step 2: Measure Your Pouf
To ensure a perfect fit, measure the diameter and height of your round pouf. Add a couple of inches to these measurements to allow for seams. Write down the measurements, as they will be essential for cutting the fabric pieces.
Cutting the Fabric
Now that you have your fabric and measurements, it’s time to cut the fabric into the necessary pieces for your round pouf cover.
Step 1: Cutting the Top Piece
- Take the diameter measurement you recorded earlier and add seam allowances (usually around 1/2 inch).
- Cut a fabric circle using this adjusted measurement as your guide. This will be the top piece of your round pouf cover.
Step 2: Cutting the Side Piece
- To determine the length of the side piece, measure the height of your pouf and add seam allowances to both the top and bottom (usually 1/2 inch each).
- Cut a fabric strip with a width equal to the circumference of your pouf. The length should be based on the height measurement with seam allowances added.
Sewing the Pouf Cover
With the fabric pieces cut, it’s time to sew your round pouf cover. We’ll break this section down into two parts: sewing the top piece and sewing the side piece.
Part 1: Sewing the Top Piece
Step 1: Create the Zipper Opening
- On one of the fabric circle’s edges, mark the location where you want to place the zipper. It’s typically a good idea to put it in a less conspicuous spot.
- Sew a straight line down this marked location, stopping a few inches from the edge.
Step 2: Attach the Zipper
- Place the zipper face down on the sewn line and pin it in place.
- Using a zipper foot on your sewing machine, sew the zipper onto the fabric.
Step 3: Complete the Top Piece
- After attaching the zipper, trim any excess fabric from the circle.
- Unzip the zipper to ensure it functions correctly.
Part 2: Sewing the Side Piece to the Top Piece
Step 1: Pin the Side Piece
- Place the top piece (with the zipper open) and the side strip right sides together.
- Pin the side strip to the top piece, ensuring they are aligned.
Step 2: Sew the Side Piece
- Using a straight stitch, sew the side strip to the top piece. Make sure to remove the pins as you sew and maintain an even seam allowance.
Step 3: Finish the Seams
- Trim any excess fabric from the seam.
- Zigzag stitch or use pinking shears to prevent fraying.
Final Touches
With the main body of the pouf cover complete, it’s time to add the finishing touches.
Step 1: Hem the Bottom Edge
- Fold up the bottom edge of the side strip and pin it in place.
- Sew a straight seam along the folded edge to create a neat hem.
Step 2: Turn the Cover Right Side Out
- Unzip the zipper.
- Carefully turn the cover right side out through the zipper opening.
Step 3: Insert Your Pouf
- Once the cover is right side out, insert your round pouf.
Care and Maintenance
To ensure your homemade round pouf cover lasts, follow these care and maintenance tips:
- Regularly remove and wash the cover according to the fabric’s care instructions.
- Repair any loose seams or damaged zippers promptly to extend the cover’s lifespan.
- Rotate the pouf periodically to distribute wear and tear evenly.
Conclusion
In conclusion, making a round pouf cover is a fun and creative DIY project that allows you to customize your home decor. By following this step-by-step guide, you can create a cover that not only protects your pouf but also complements your interior design. Remember to choose the right fabric, measure carefully, and follow the sewing instructions to ensure a perfect fit. With a bit of patience and creativity, you’ll have a beautiful round pouf cover that adds style and functionality to your living space.
Now that we’ve covered the step-by-step process of making a round pouf cover, let’s address some common follow-up questions related to this project.
Follow-up Questions
Q1: Can I use a different shape for the cover if my pouf is not round?
Certainly! This guide is focused on making a round pouf cover, but the same principles can be applied to create covers for poufs of different shapes. Simply adjust your measurements and fabric cutting accordingly.
Q2: What type of fabric is best for a pouf cover?
The choice of fabric depends on your style and usage. For a durable and easy-to-clean option, consider upholstery fabric. For a more casual look, cotton or linen can work well. Just make sure the fabric you choose suits your needs and complements your decor.
Q3: I don’t have a sewing machine. Can I make this cover by hand?
Absolutely! While a sewing machine can make the process faster and more efficient, you can sew the cover by hand using a needle and strong thread. It may take a bit more time and effort, but the result will be just as lovely.
Q4: How can I add some decorative elements to the pouf cover?
You can personalize your pouf cover by adding decorative elements like embroidery, fabric paint, or appliqué. Be creative and let your imagination run wild to make it uniquely yours.
Q5: How do I clean and maintain the cover over time?
Cleaning and maintaining your pouf cover is essential to keep it looking fresh. Follow the care instructions on the fabric label and wash it accordingly. If you spot any loose seams or damaged zippers, repair them promptly to extend the cover’s lifespan. Finally, rotating the pouf periodically can help distribute wear and tear evenly.
By following this guide and considering these follow-up questions, you’ll be well-prepared to make a round pouf cover that not only protects your pouf but also enhances the aesthetic of your living space. Happy DIY-ing!


